Sample Projects
 | These samples are designed to demonstrate the uses of each feature in our SDK. The sample project launches multiple small samples that you can try out and look though the code to learn how to get started with any feature. Step by step how-to guides are available to teach you how to to leverage each feature. |
Installing the Samples
- Android
- iOS
- Meta Quest 3
The samples are available on our github https://github.com/nianticspatial/nsdk-samples-csharp
How to clone/download the samples:
git clone https://github.com/nianticspatial/nsdk-samples-csharp.git
or
Download the repo from https://github.com/nianticspatial/nsdk-samples-csharp using the code/download button on github.
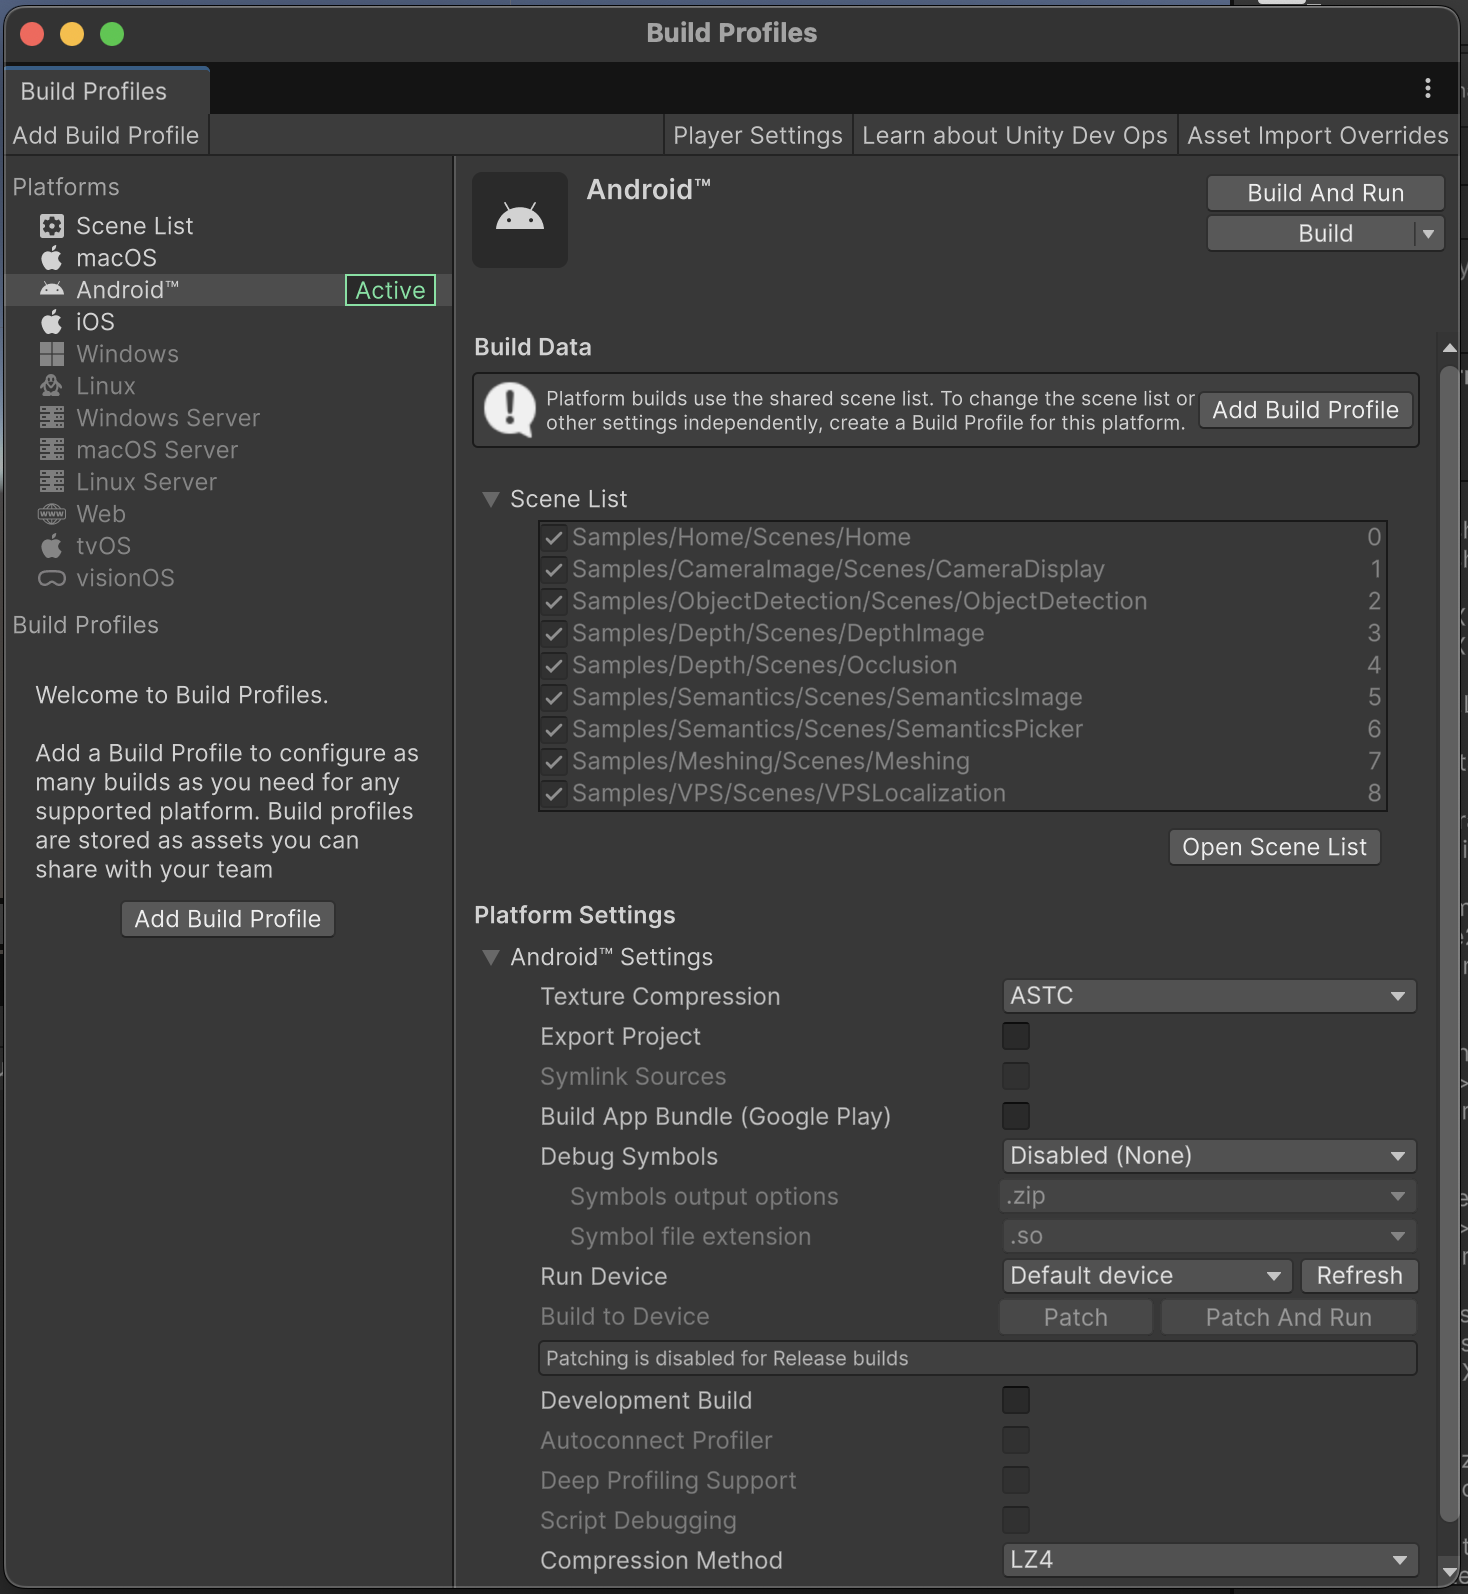
Open the samples project in Unity by pressing Add in Unity Hub and browsing to the project.
Running the Samples in Unity 2022
By default, our sample projects run on Unity 6000.0.58f2, but you can downgrade them to version 2022.3.62f2 if you would prefer to use Unity 2022.
To downgrade the samples to Unity 2022:
- In Unity Hub, under Installs, install 2022.3.62f2 if you do not have it already.
- Under Projects, find the ARDK sample project. Click on the Editor Version and change it to 2022.3.62f2. Then click the Open with 2022.3.62f2 button.
- When the Change Editor version? dialog comes up, click Change Version.
- When the Opening Project in Non-Matching Editor Installation dialog comes up, click Continue.
- Disable the custom base Gradle template:
- In the Unity top menu, click Edit, then Project Settings.
- In the left-hand Project Settings menu, select Player, then click the Android tab.
- Scroll down to Publishing Settings, then un-check the box labeled Custom Base Gradle Template.
- In the Window top menu, open the Package Manager. Select Visual Scripting from the package list, then, if you are using version 1.9.0 or earlier, click the Update button.
- If there are any errors, the Enter Safe Mode? dialog will pop up. Click Enter Safe Mode to fix the errors.
The samples are available on our github https://github.com/nianticspatial/nsdk-samples-csharp
How to clone/download the samples:
git clone https://github.com/nianticspatial/nsdk-samples-csharp.git
or
Download the repo from https://github.com/nianticspatial/nsdk-samples-csharp using the code/download button on github.
Open the samples project in Unity by pressing Add in Unity Hub and browsing to the project.
Running the Samples in Unity 2022
By default, our sample projects run on Unity 6000.0.58f2, but you can downgrade them to version 2022.3.62f2 if you would prefer to use Unity 2022.
To downgrade the samples to Unity 2022:
- In Unity Hub, under Installs, install 2022.3.62f2 if you do not have it already.
- Under Projects, find the ARDK sample project. Click on the Editor Version and change it to 2022.3.62f2. Then click the Open with 2022.3.62f2 button.
- When the Change Editor version? dialog comes up, click Change Version.
- When the Opening Project in Non-Matching Editor Installation dialog comes up, click Continue.
- Disable the custom base Gradle template:
- In the Unity top menu, click Edit, then Project Settings.
- In the left-hand Project Settings menu, select Player, then click the Android tab.
- Scroll down to Publishing Settings, then un-check the box labeled Custom Base Gradle Template.
- In the Window top menu, open the Package Manager. Select Visual Scripting from the package list, then, if you are using version 1.9.0 or earlier, click the Update button.
- If there are any errors, the Enter Safe Mode? dialog will pop up. Click Enter Safe Mode to fix the errors.
The Niantic Spatial Meta Plugin includes sample scenes designed for use with Meta Quest 3 in AR. While the UI will appear different, the functionality of these sample scenes are very similar to the sample scenes for iOS/Android mobile devices described below.
- Follow the steps to install NSDK for Meta Quest 3.
- In Unity, open the Window top menu, then select Package Manager.
- With Packages: Unity Registry selected, browse to and install the XR Interaction Toolkit (com.unity.xr.interaction.toolkit).
- With Packages: In Project selected, select the Niantic Spatial Meta Plugin, and from there select the Samples tab.
- Click Import to import the samples into your current project.
- Find the sample scenes under
Assets/Samples/Niantic Spatial SDK Meta Plugin/. - In the File top menu, select Build Settings.
- Drag the sample scenes that you wish to test into Scenes in Build. Ensure that the Home scene is at the top of the list.
- In Unity, open the File top menu, then select Build Settings and click Build and Run when the Meta Quest 3 device is connected and awake to test out the samples.
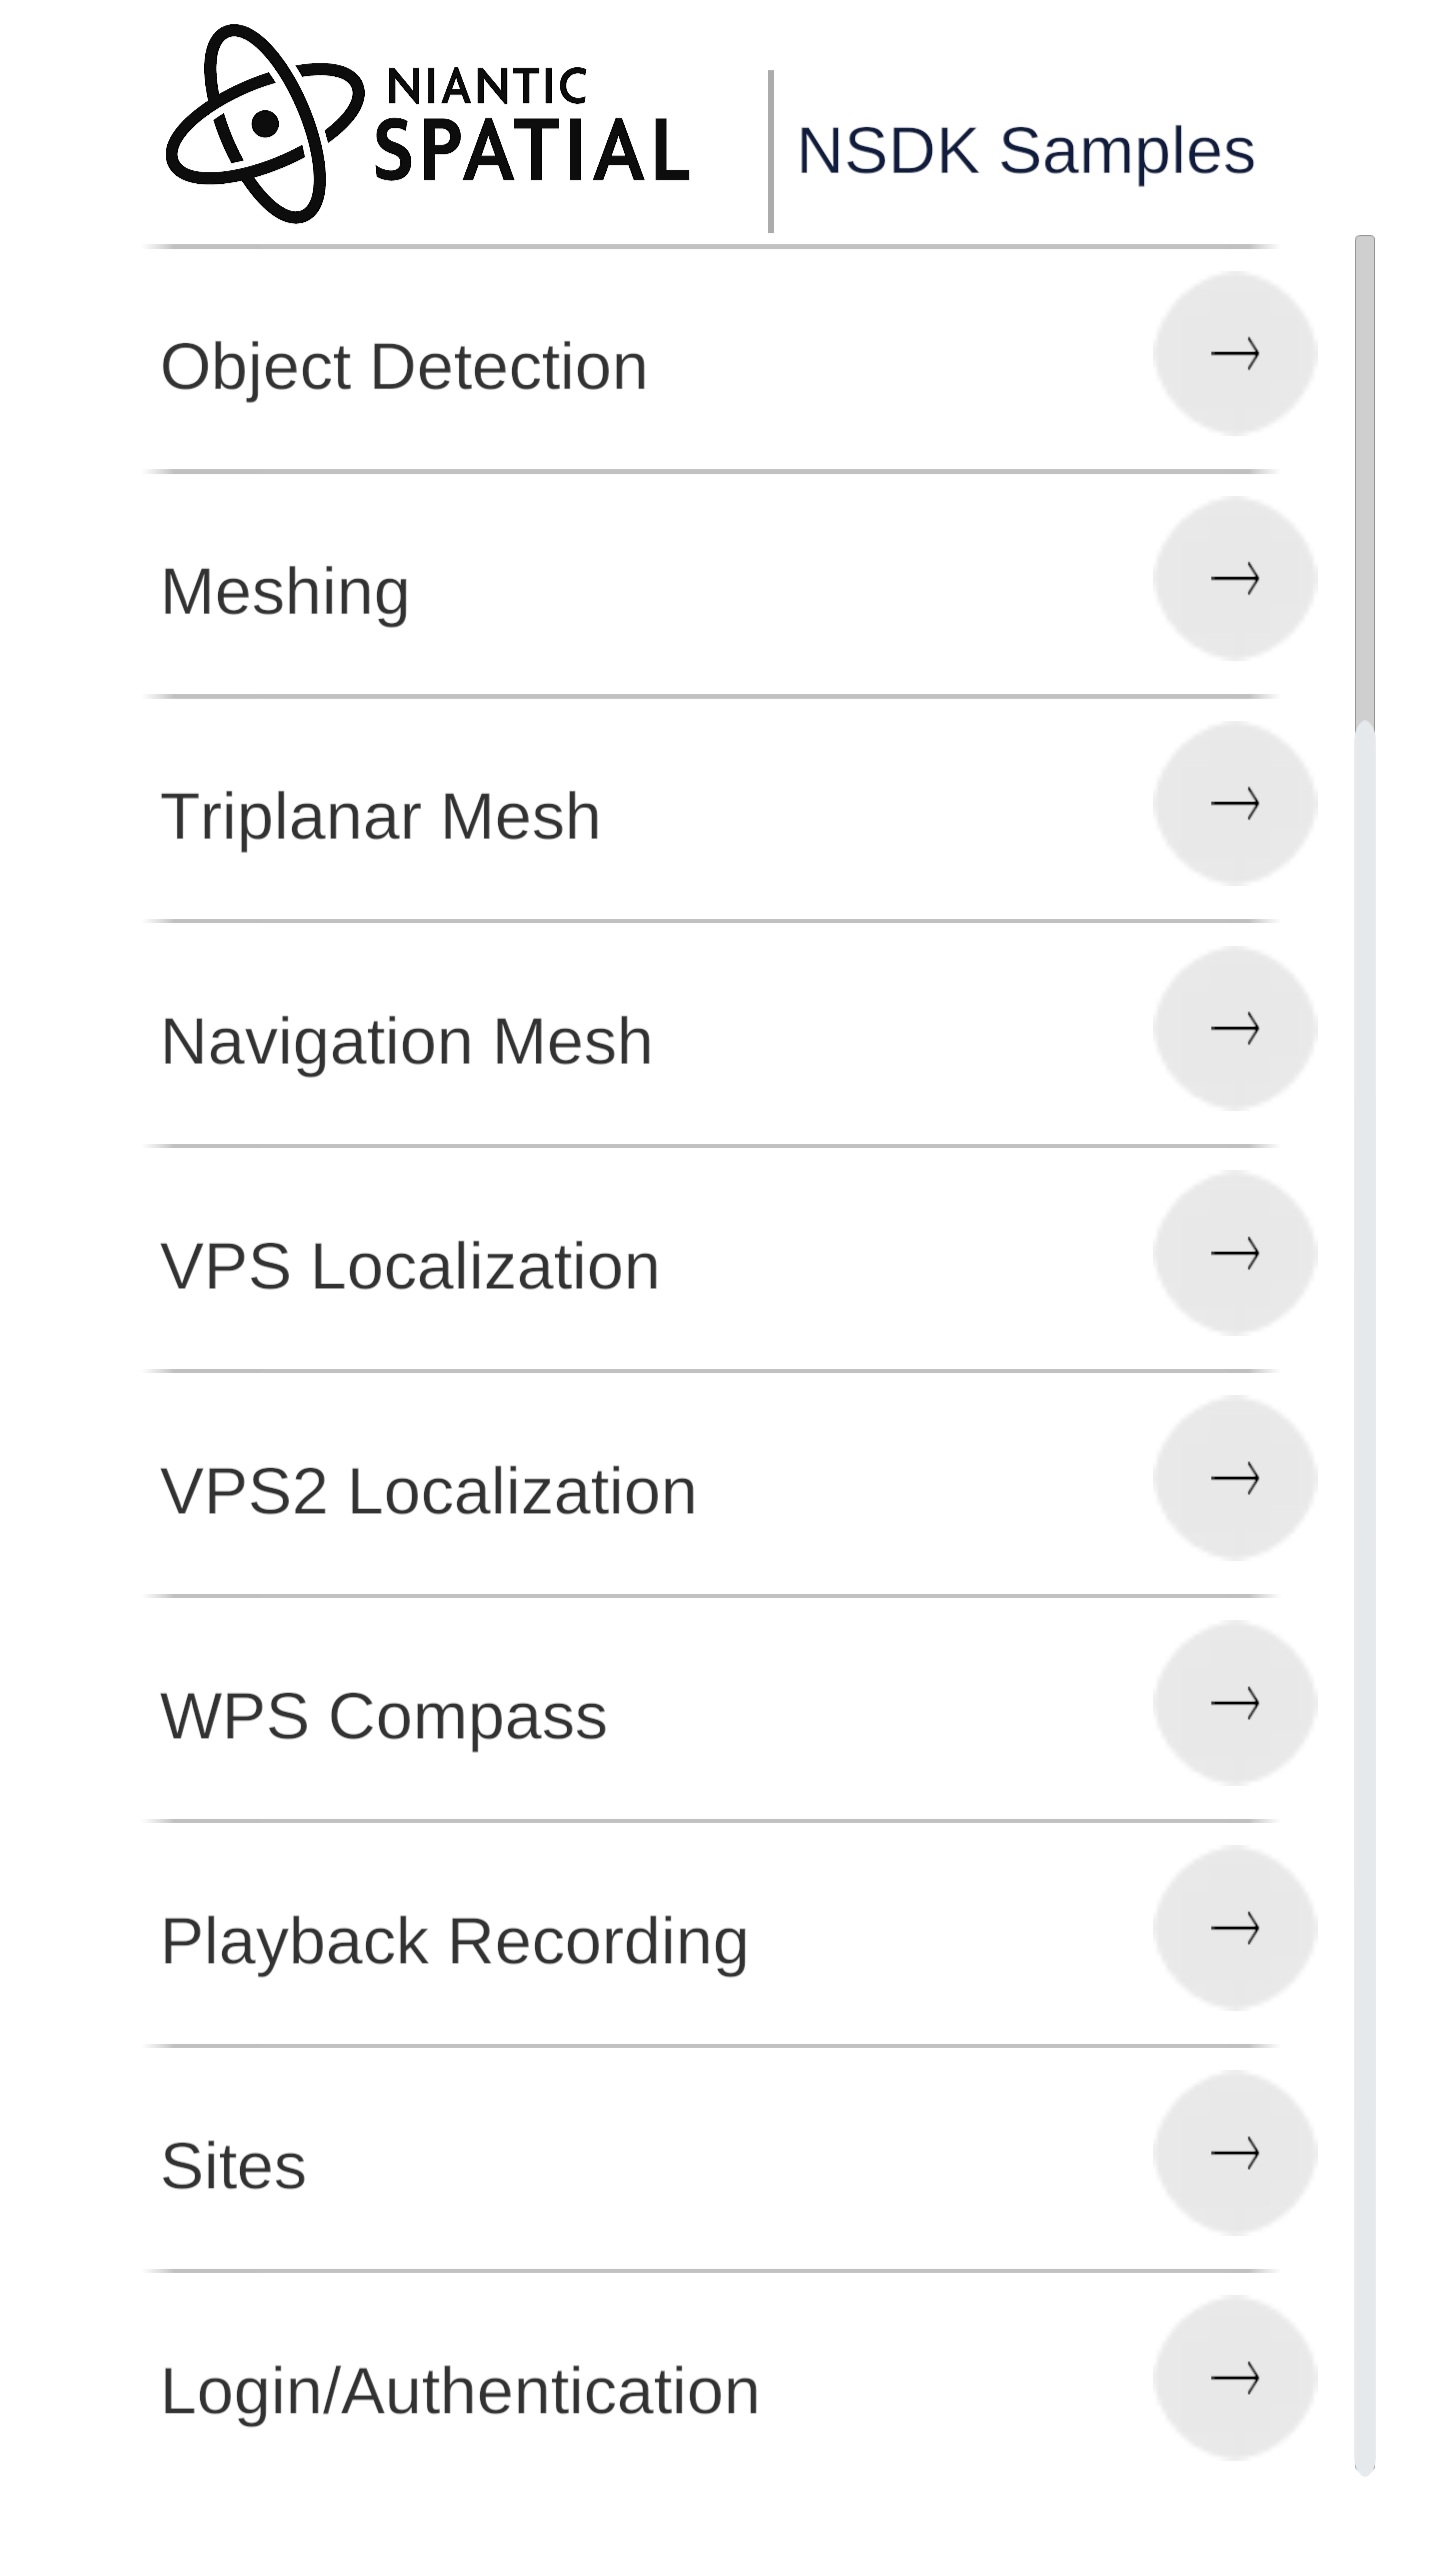
Samples
Depth Display
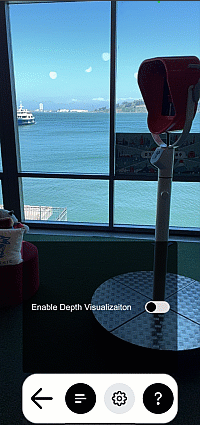 | The depth scene demonstrates how to get the depth buffer and display it as an overlay in the scene. Open DepthDisplay.unity in the Depth folder to try it out. |
Occlusion
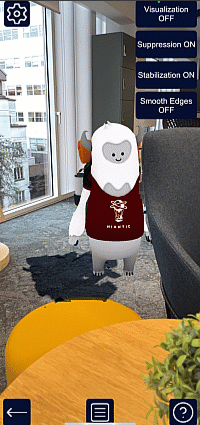 | This sample demonstrates occlusion by moving a static cube in front of the camera. Because the cube does not move, you can walk around and inspect the occlusion quality directly. To open it, see Occlusion.unity in the Depth folder. This sample also demonstrates two advanced occlusion options available in NSDK, Occlusion Suppression and Occlusion Stabilization. These options reduce flicker and improve the visual quality of occlusions using input from either scene segmentation or meshing. For more information on how these capabilities work, see the How-To sections for Occlusion Suppression and Occlusion Stabilization. |
Scene Segmentation
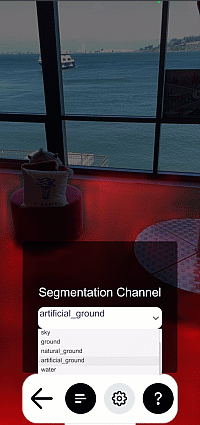 | This sample demonstrates scene segmentation by applying a shader that colors anything recognized on-screen as part of a semantic channel. To open this sample, see SemanticsDisplay.unity in the Semantics folder. To use this sample:
|
Object Detection
 | This sample demonstrates object detection by drawing a 2d bounding box around any detections it finds. In the settings menu you can toggle showing all detected classes vs only showing a selected class from the provided drop down. To open this sample, see ObjectDetection.unity in the ObjectDetection folder. |
Meshing
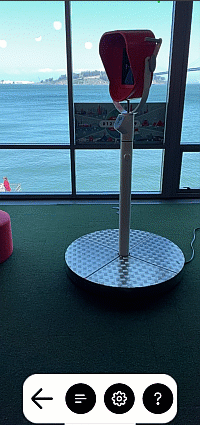
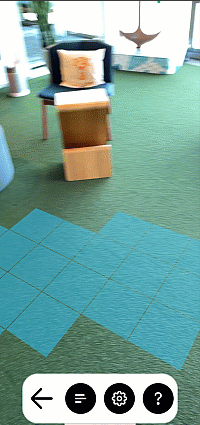
 | This sample demonstrates how to use meshing to generate a physics mesh in your scene. It shows the mesh using a Normal shader, the colors represent Up, Right and Forward. To open this sample, see NormalMeshes.unity in the Meshing folder. |
Triplanar Mesh
 | This sample demonstrates how to texture an NSDK mesh. It works like the Meshing sample but uses an example triplanar shader that demonstrates one way to do world space UV projection. The sample tiles three textures in the scene; one for the ground, the walls, and the ceiling. To open this sample, see TriplanarMesh.unity in the Meshing folder. |
Navigation Mesh
 | This sample demonstrates using meshing to create a Navigation Mesh. As you move around we create and grow a navigation mesh that you can click on to tell an AI agent to move to that position. The agent can walk around corners and jump up on objects. To open the sample, see NavigationMesh.unity in the NavigationMesh folder. To view this demonstration:
|
VPS2 Localization
 | Attention This sample requires Auth Login). This sample shows a list of sites in the selected Organization and allows you to choose a VPS Asset from the Sites API as a localization target, then interfaces with your phone's position to guide you to it. To open this sample, see VPS2Localization.unity in the PersistentAR folder. To use this sample:
|
Recording
 | This sample allows you to scan a real-world location for playback in your editor. To open this sample, see Recording.unity in the Scanning folder. To learn how to use this sample, see How to Create Datasets for Playback. |
Sites
 | The Sites feature provides access to organized entity data in the Niantic Spatial platform, enabling your application to discover and navigate the relationships between a user, organization, site, and spatial data asset. This feature allows you to query what spatial content is available to users and how it's structured within your organization. |
Auth
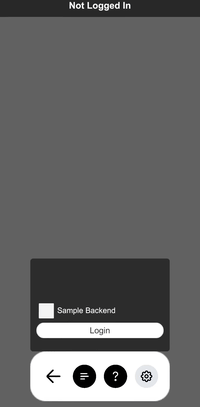 | This sample demonstrates different methods of authentication and authorization when working with NSDK. There is a toggle, leading to two options:
|